> ## Documentation Index
> Fetch the complete documentation index at: https://docs.rubbrband.com/llms.txt
> Use this file to discover all available pages before exploring further.
# Inpaint Image Node
> Learn about Rubbrband's Inpaint Nodes
Inpaint nodes take a particular area of an image, and regenerate its contents given a prompt
**Flux Pro Inpaint Node**
Inpaint powered by Flux Pro.
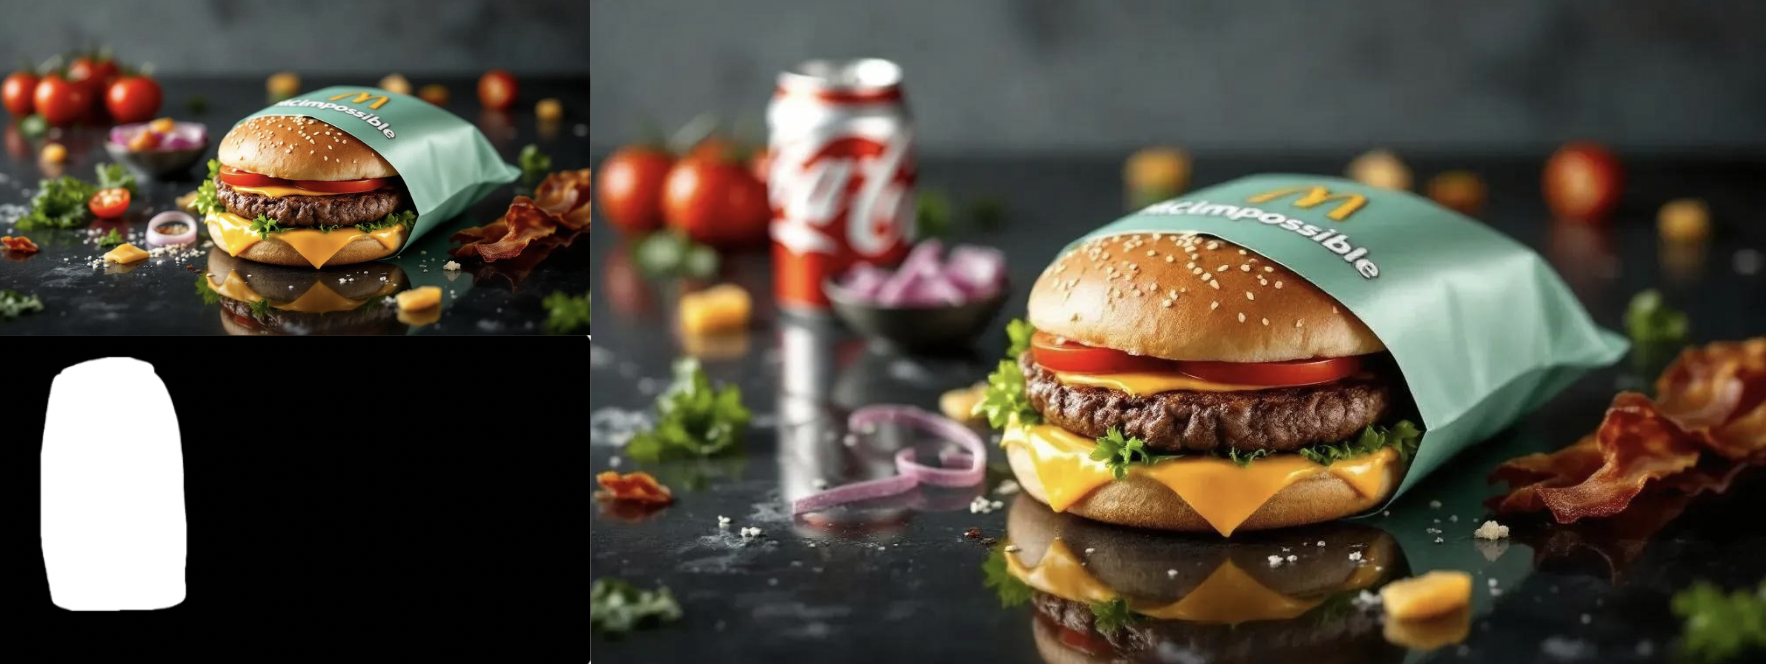 **Inputs**
The prompt that describes the region to be inpainted. You do not need to
describe the rest of the image.
The original image
The mask that is the section of the original image that needs to be redone.
**Settings**
The colors that you want in the output video
A number representing the number of pixels to dilate the mask by. For example,
if set to 1, that means every pixel *1* away from the shaded mask will also be
inpainted.
Increasing the number of steps increases the number of iterations the AI takes
to generate your image. Increasing steps make generations take longer, but can
sometimes lead to more coherent images.
A random number that will set the seed for the generation. Keeping the seed
constant will result in the same outputs. -1 randomizes the seed.
**Outputs**
The output image after the inpaint.
**Flux Dev Inpaint Node**
Inpaint powered by Flux Dev.
**Inputs**
The prompt that describes the region to be inpainted. You do not need to
describe the rest of the image.
The original image
The mask that is the section of the original image that needs to be redone.
**Settings**
The colors that you want in the output video
A number that represents similarity to the prompt. Increasing this results in
a generation that is more similar to the prompt, and less similar to the
initial area. NOTE: In Rubbrband, with Flux Dev inpainting, we attempt to blur
out the initial object before inpainting. As a result, if you set the
denoising strength to very low values, you might receive blurry outputs in the
area of interest.
A number representing the number of pixels to dilate the mask by. For example,
if set to 1, that means every pixel *1* away from the shaded mask will also be
inpainted.
Increasing the number of steps increases the number of iterations the AI takes
to generate your image. Increasing steps make generations take longer, but can
sometimes lead to more coherent images.
A random number that will set the seed for the generation. Keeping the seed
constant will result in the same outputs. -1 randomizes the seed.
**Outputs**
The output image after the inpaint.
**Inputs**
The prompt that describes the region to be inpainted. You do not need to
describe the rest of the image.
The original image
The mask that is the section of the original image that needs to be redone.
**Settings**
The colors that you want in the output video
A number representing the number of pixels to dilate the mask by. For example,
if set to 1, that means every pixel *1* away from the shaded mask will also be
inpainted.
Increasing the number of steps increases the number of iterations the AI takes
to generate your image. Increasing steps make generations take longer, but can
sometimes lead to more coherent images.
A random number that will set the seed for the generation. Keeping the seed
constant will result in the same outputs. -1 randomizes the seed.
**Outputs**
The output image after the inpaint.
**Flux Dev Inpaint Node**
Inpaint powered by Flux Dev.
**Inputs**
The prompt that describes the region to be inpainted. You do not need to
describe the rest of the image.
The original image
The mask that is the section of the original image that needs to be redone.
**Settings**
The colors that you want in the output video
A number that represents similarity to the prompt. Increasing this results in
a generation that is more similar to the prompt, and less similar to the
initial area. NOTE: In Rubbrband, with Flux Dev inpainting, we attempt to blur
out the initial object before inpainting. As a result, if you set the
denoising strength to very low values, you might receive blurry outputs in the
area of interest.
A number representing the number of pixels to dilate the mask by. For example,
if set to 1, that means every pixel *1* away from the shaded mask will also be
inpainted.
Increasing the number of steps increases the number of iterations the AI takes
to generate your image. Increasing steps make generations take longer, but can
sometimes lead to more coherent images.
A random number that will set the seed for the generation. Keeping the seed
constant will result in the same outputs. -1 randomizes the seed.
**Outputs**
The output image after the inpaint.