> ## Documentation Index
> Fetch the complete documentation index at: https://docs.rubbrband.com/llms.txt
> Use this file to discover all available pages before exploring further.
# Editing Nodes
> Learn about nodes that help with editing in Rubbrband
## Adjust Image Color Levels Node
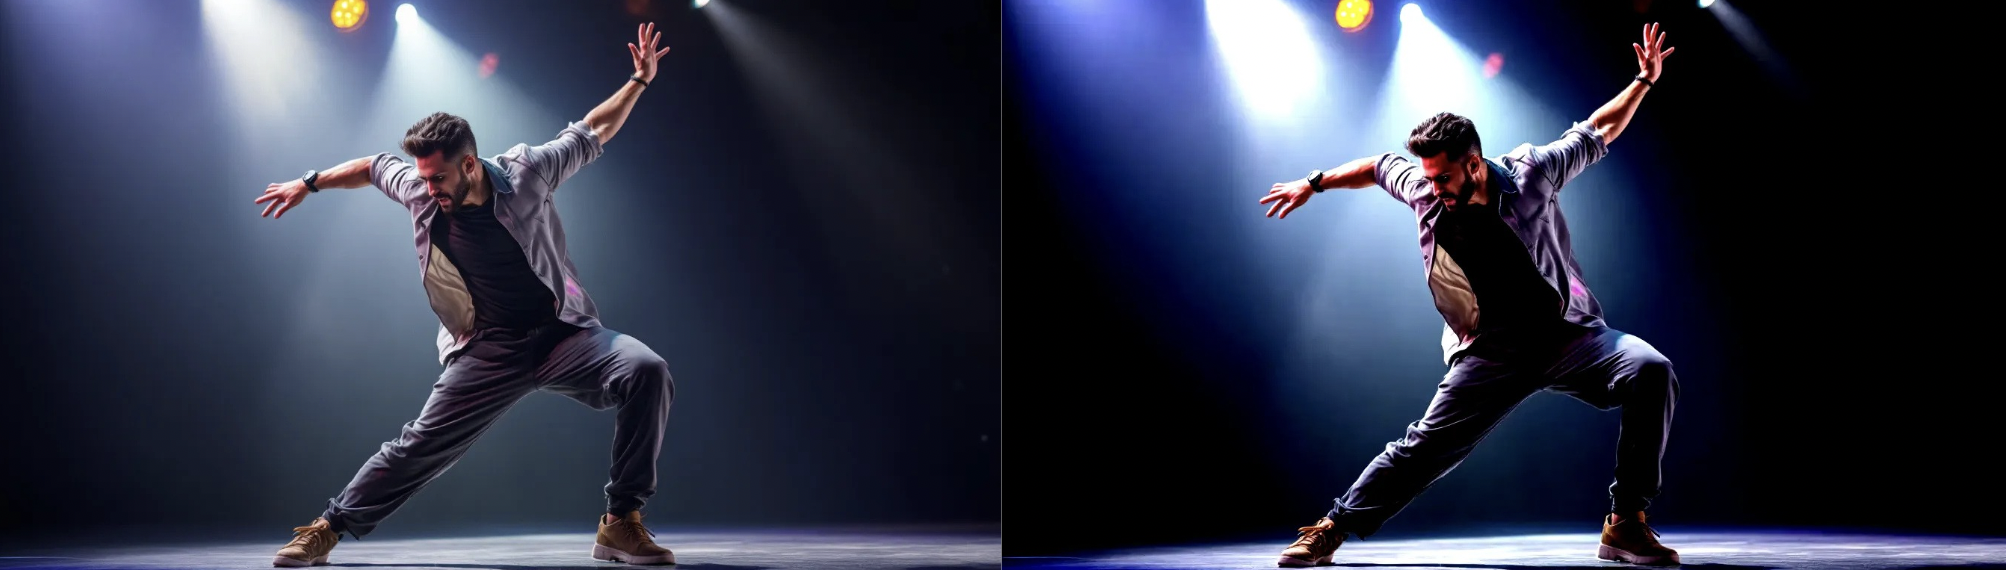
The Adjust Image Color Levels Node takes in an input image, and rounds dark pixels to completely black, and lighter pixels to completely white (given thresholds). This sometimes helps with color contrast in images.
 **Inputs**
The input image to adjust color levels for.
**Settings**
The pixel value below which pixels will be rounded to completely black.
default: 50
The pixel value above which pixels will be rounded to completely white
default: 200
**Outputs**
The output image after color correction.
## Blend Images Node
Blends two images together, weighing each image by the priority.
**Inputs**
The input image to adjust color levels for.
**Settings**
The pixel value below which pixels will be rounded to completely black.
default: 50
The pixel value above which pixels will be rounded to completely white
default: 200
**Outputs**
The output image after color correction.
## Blend Images Node
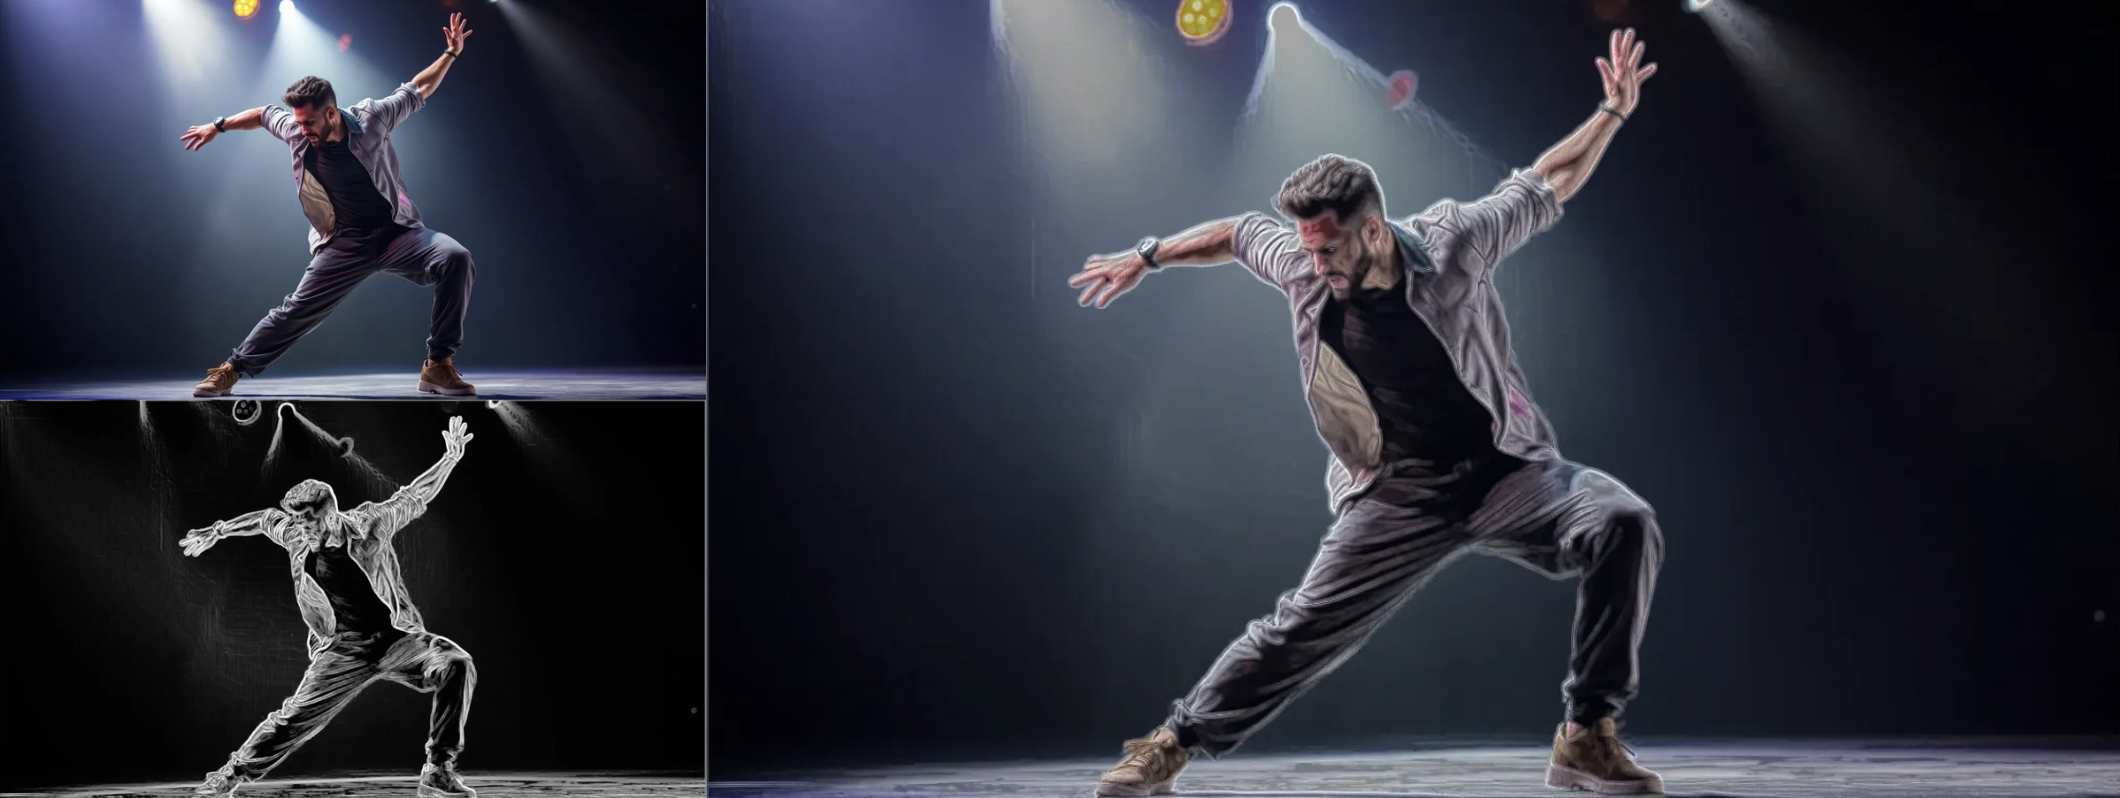
Blends two images together, weighing each image by the priority.
 **Inputs**
The first image.
The second image.
**Settings**
A number from 0-1 that represents how much of the top image should be evident
in the output. If 0, the output is the bottom image; if 1, the output is the
top image.
**Outputs**
The final blended image.
## Blur Images Node
Applies a gaussian blur to an image.
**Inputs**
The first image.
The second image.
**Settings**
A number from 0-1 that represents how much of the top image should be evident
in the output. If 0, the output is the bottom image; if 1, the output is the
top image.
**Outputs**
The final blended image.
## Blur Images Node
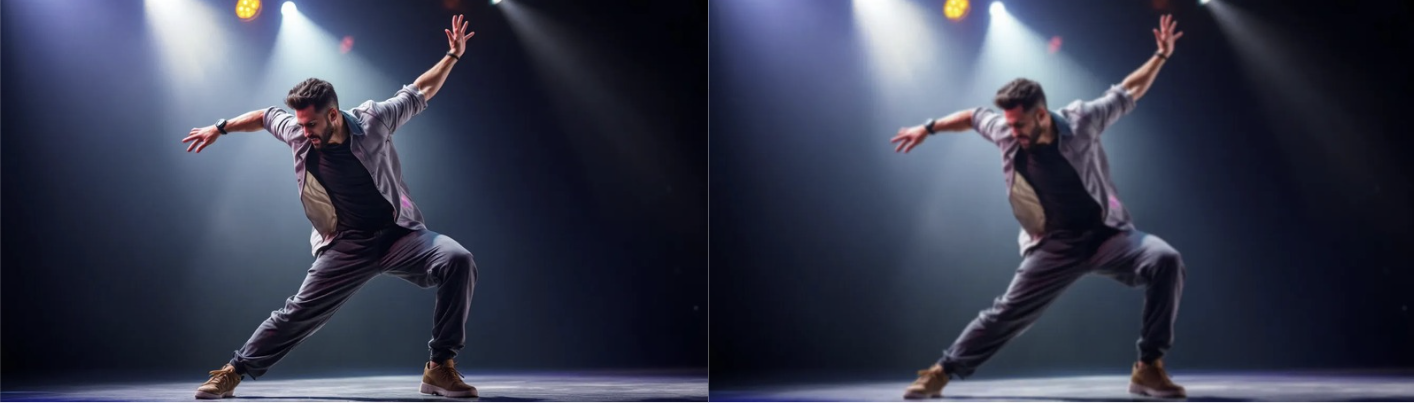
Applies a gaussian blur to an image.
 **Inputs**
The image that will be blurred.
**Settings**
The amount of blurring of the image. The default is 1.0. The recommended range
is between 0.1-50.
**Outputs**
The output image after blurring.
## Extract Image Details Node
Extract the intricate details of an image, like text and markings.
**Inputs**
The image that will be blurred.
**Settings**
The amount of blurring of the image. The default is 1.0. The recommended range
is between 0.1-50.
**Outputs**
The output image after blurring.
## Extract Image Details Node
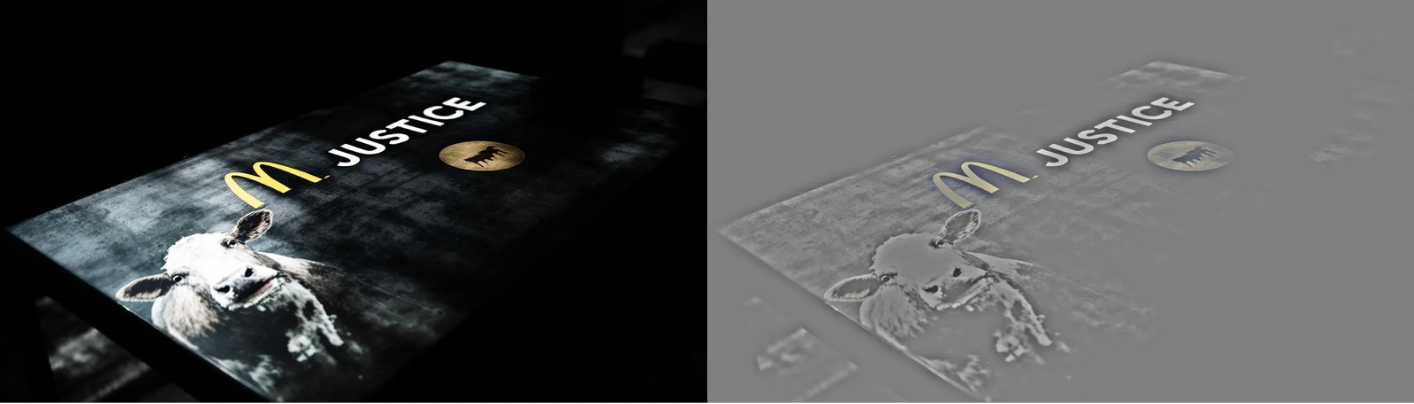
Extract the intricate details of an image, like text and markings.
 **Inputs**
The base image whose details are of interest.
**Outputs**
An output image that has the intricate details of the input image, without all
of the other low frequency details like colors and contours.
## Filter Images Node
Applies a particular filter to an image.
**Inputs**
The base image
**Settings**
The filter of interest. Brighten: brightens images
**Inputs**
The base image whose details are of interest.
**Outputs**
An output image that has the intricate details of the input image, without all
of the other low frequency details like colors and contours.
## Filter Images Node
Applies a particular filter to an image.
**Inputs**
The base image
**Settings**
The filter of interest. Brighten: brightens images
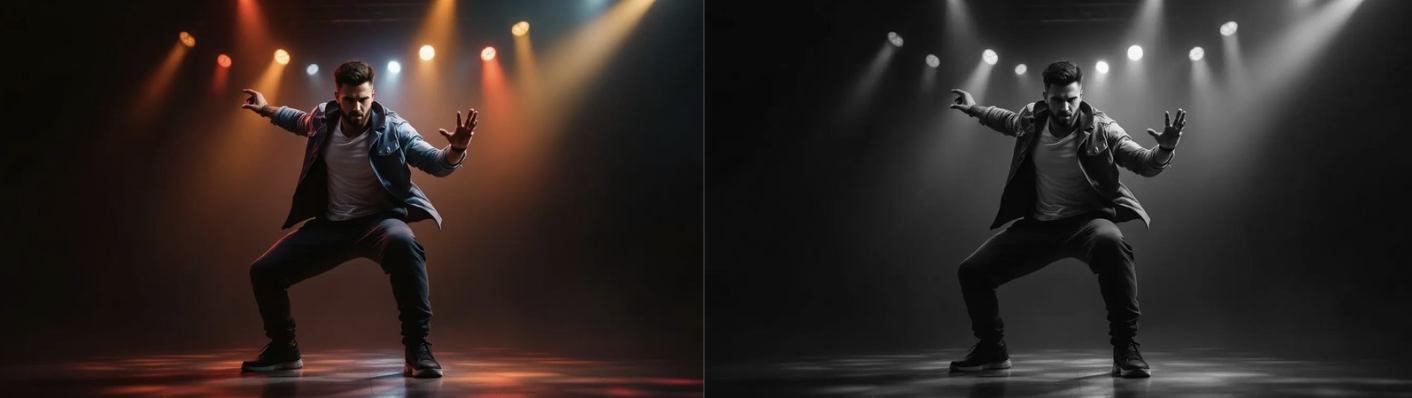
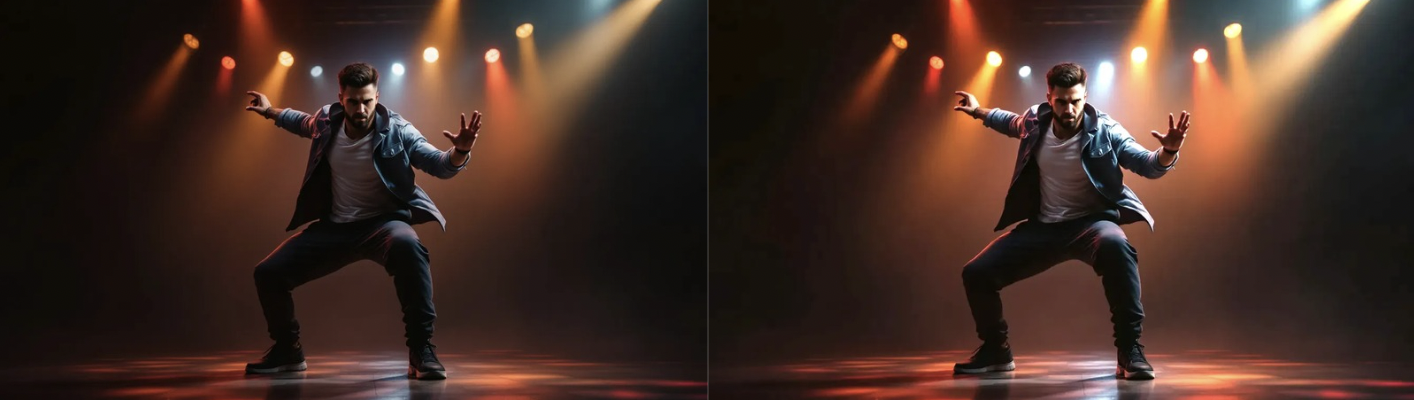 Grayscale: makes images into grayscale
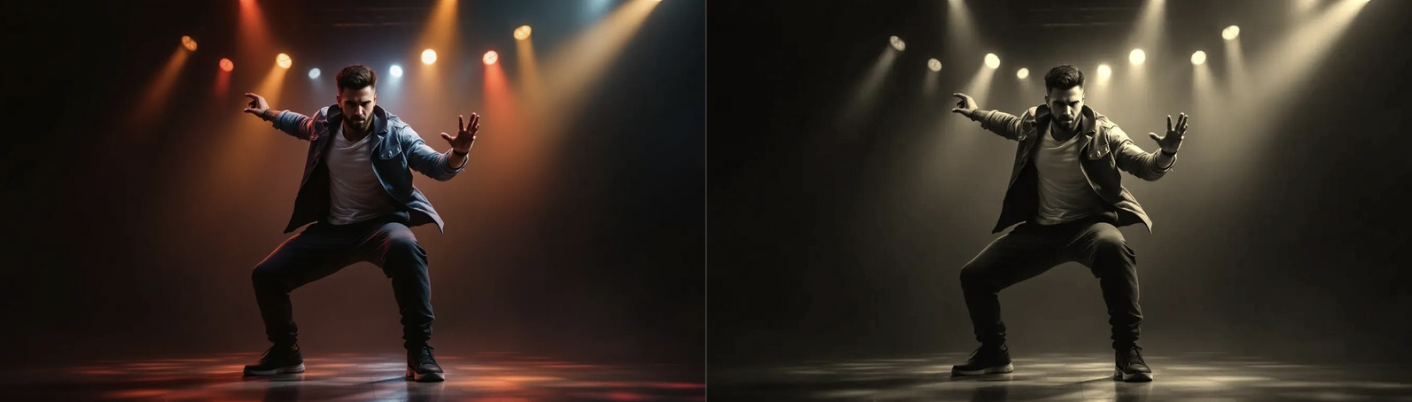
 Sepia: adds a mellow tone to an image, giving it an archival or vintage
appearance
Sepia: adds a mellow tone to an image, giving it an archival or vintage
appearance
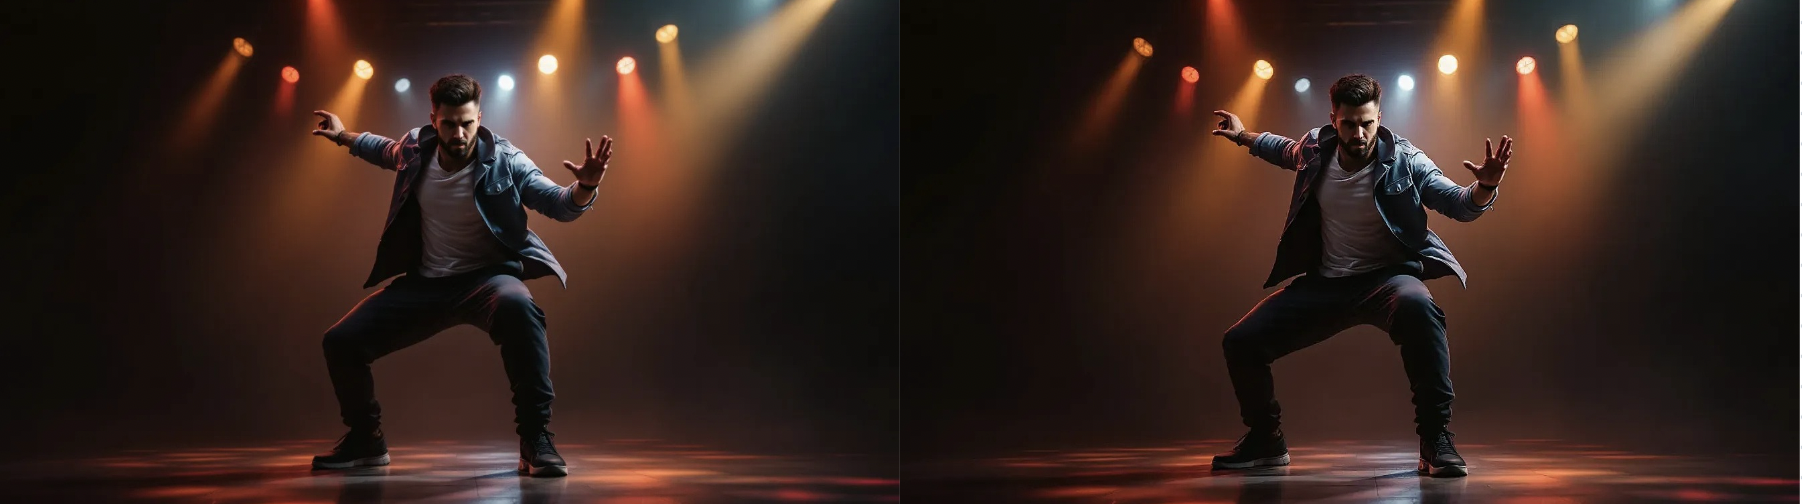
 Sharpen: makes the outlines of an image more distinct
 A number between 0 and 10 that represents the strength of the filter effect.
**note that for brightness, a level between 0-1 decreases brightness**
**Outputs**
The image after the filter is applied.
Superimpose Images Node
A number between 0 and 10 that represents the strength of the filter effect.
**note that for brightness, a level between 0-1 decreases brightness**
**Outputs**
The image after the filter is applied.
Superimpose Images Node